How to Re-Waterproof your Gear
If you’re like me, you get caught in the rain a lot. Somehow no matter how sunny it is at my house, it’s always pouring at the trailhead. Just seems to be my luck. Now, if you’re also like me, you shrug, put on your rain gear and pack cover, and trudge into the deluge.
Lucky for us, outdoor equipment has come a long way from the waxed canvas tents of our predecessors. We have technology they never would have dreamed of, like GoreTex and DWR (Durable Water Repellent) coatings.
While the technology may have changed, the need for maintenance and upkeep has not. Just like owning a home or vehicle, outdoor equipment needs regular work to keep it functioning at its best. Fortunately, re-waterproofing your equipment is a quick and easy process that can be done right at home! We’ve provided some directions below for waterproofing your gear so that it lasts for years to come.
Rain Shell and Pants
The first step to re-waterproofing your rain gear is to wash it according to the manufacturer’s directions. Dirt and oil can clog the pores in the membrane of your gear which causes it to no longer be breathable. Cleaning your gear first ensures a clean surface for reapplying the DWR coating successfully. NEMO prefers to use Nikwax products when we're washing and treating our gear.
Clean first with a technical cleaner like Nikwax Tech Wash as household detergent can leave behind residues that attract water. To add water-repellency back to your gear, use Nikwax TX.Direct Wash-In in a second cycle in your washing machine, or by hand in your tub or sink. You can also use the spray-on version which allows you to control where you treat your shell or pants. We recommend focusing on high wear areas such as your shoulders, under your hip belt, and the back of your shell. Remember to always clean outerwear before waterproofing.
Tents
Tents can be a bit trickier, simply because they can't be tossed in the washing machine. Before re-waterproofing your gear, make sure your tent is clean. Follow washing directions in our article Cleaning, Repairing, and Storing Your Tent. We’ve found it’s best to apply a DWR spray while your tent is still damp from its cleaning. Again, we like to use Nikwax products for this process as well.
After setting up your tent, clean with Tent & Gear SolarWash, then to restore the DWR, apply Tent & Gear SolarProof evenly on your wet tent. Allow it to dry in direct sunlight. Both SolarWash and SolarProof will add UV protection along with cleaning and waterproofing to help your tent withstand UV rays and maintain fabric strength.
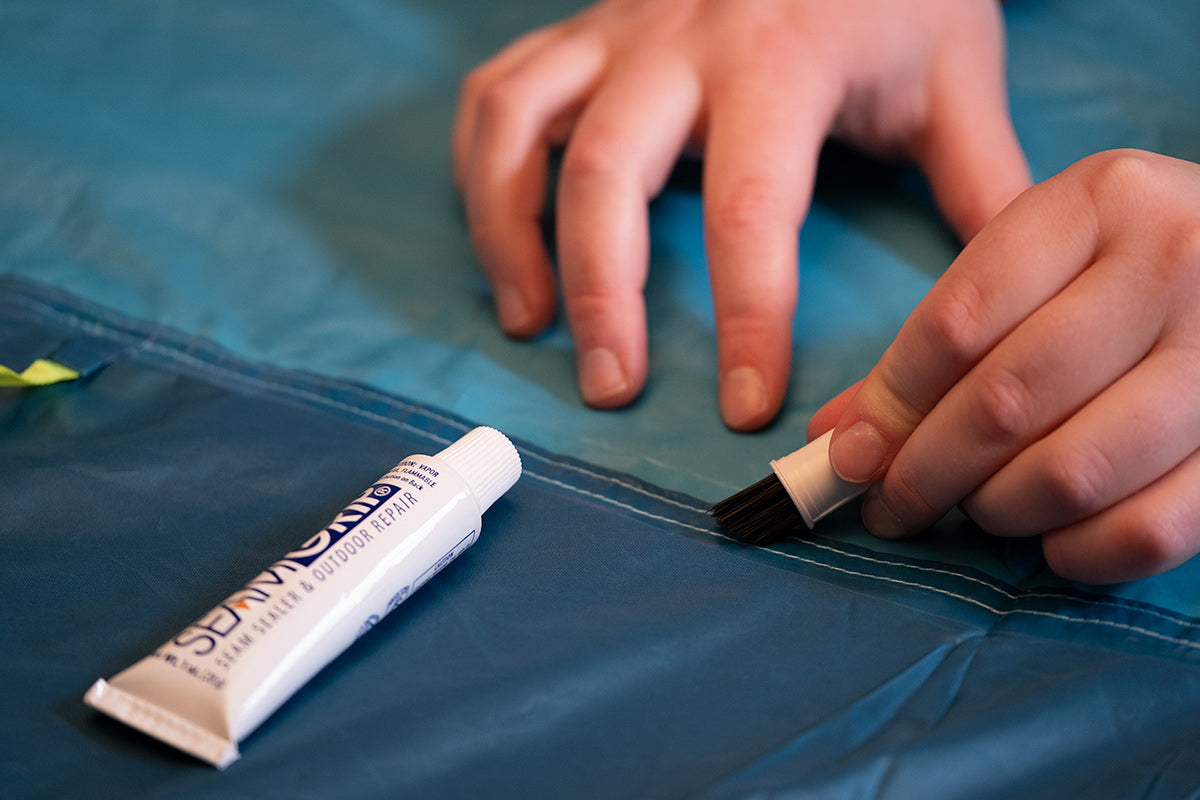
If you notice that your seams are leaking or flaking, we recommend using a seam sealer to coat the seams and fix those leaks. For all of our professional repairs, we use McNett’s Seam Grip. Just make sure that you purchase the correct seam sealer for your tent material — there is a difference between silicon and polyester fabrics! Apply a thin, even coat to your seams and use the included brush to smooth it out. Allow 24 hours for the adhesive to cure.
 Apply a thin coat of McNett's Seam grip or another polyurethane-based repair glue to the underside of your rainfly seams. It can also be applied to the seams inside your tent body.
Once your seams are sealed and the DWR has been reapplied you should be ready for your next adventure! We recommend keeping your tent’s waterproofing up-to-date to prolong the life of the tent. Depending on usage, you should only have to reapply waterproofing every 1–3 years. So give your tent some extra love in the off-season!
Have any other questions? Contact our Customer Service team here or give us a call at 800-997-9301.
